Advertisement
Micro Greens
No garden? No problem!

If you’ve got a windowsill, you’ve got the space and light necessary to grow a variety of nutrient-rich micro greens. For those who haven’t heard the term, micro greens are plants and lettuces that are harvested to eat when they reach about one to two inches high—well before they’ve grown to full size.
Unlike sprouts where you eat the seed, root, stem, and underdeveloped leaves, with micro greens the stem is cut and you nosh on the baby leafy foliage that is bursting with tastes ranging from peppery to mild and subtle. Undeniably, they have become all the rage as a fanciful garnish and flavour accent at finer restaurants. Plus, health experts are increasingly trumpeting these plant shoots for their cocktail of disease-fighting compounds. Here’s how and why you should rear your own.
Micro greens add punchy flavours and vibrant colours to dishes. Use them as a garnish to ameliorate vegetable or bean salads, pilafs, soups, baked potatoes, stir-fries, and pizza. Or blend into dips, dressings, pesto, and sauces. Fresh micro greens should be used raw due to their delicate nature and sensitive nutrients. Grow them yourself with our handy guide or pick them up at your local health food store or farmers’ market.
Recipes
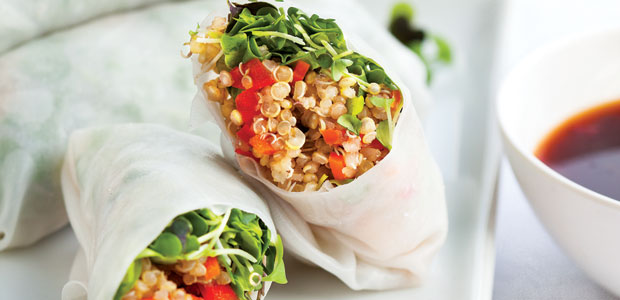
- Quinoa Spring Rolls
- Sushi Bowls
- Rainbow Trout with Micro Green Sauce
- Poached Eggs, Mushrooms, and Micro Greens
DIY micro greens
You can purchase micro greens at an increasing number of natural food stores and farmers’ markets, but follow these easy steps and you’ll be harvesting your own bounty of inexpensive greens in no time.
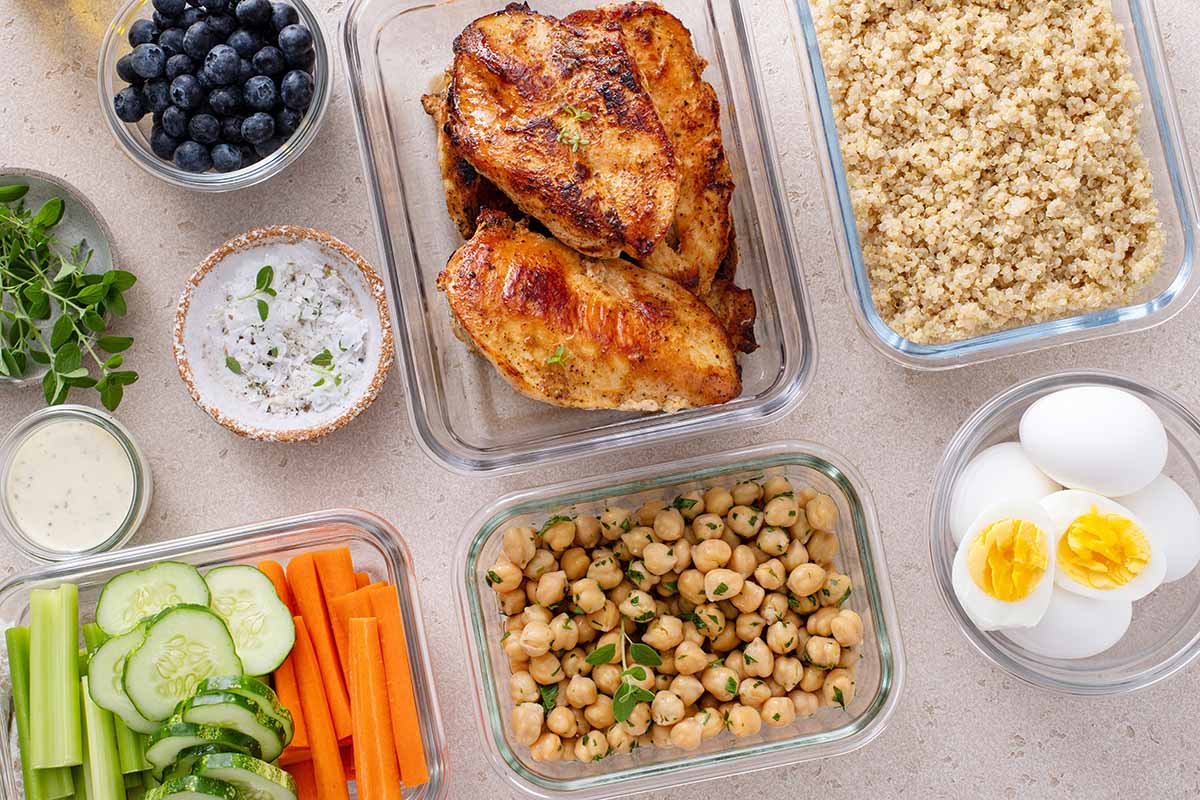
Step one: To expedite germination, large seeds such as chickpeas and peas can be soaked in water at room temperature for up to 24 hours. Drain and rinse seeds. Smaller sprouting seeds such as broccoli and kale don’t require pre-soaking.
Step two: Fill containers of choice about three-quarters full with potting soil, spreading out as evenly as possible.
Step three: Spread seeds over the soil and top with a thin layer of potting soil. Place on a drainage tray and lightly water.
Step four: Place your container in a warm location, ideally between 13 and 25 C. The seeds won’t require direct sunlight until they begin to poke out from the soil, at which point you can place the sprouts in a sunny location such as windowsill or balcony. Light for micro green production need not be as intense as what is required for mature plants.
Step five: Water your seeds once or twice per day. You want to keep the soil moist like a damp sponge. Soaking with too much water, however, is just as harmful as not watering at all.
Step six: After seven to 10 days and when about 1 to 2 in (2 to 5 cm) tall, most micro greens are ready for harvesting. To harvest, cut the micro greens off slightly above the soil line with kitchen shears. For optimal freshness and nutritional firepower, harvest just before you’ll eat them, leaving the remaining micro greens intact.
Step seven: Once the harvest is complete, compost the soil and roots and begin again. Sprouting containers should be thoroughly washed between uses. To assure a constant supply of micro greens, try planting seeds about every four days so once you have used up one batch of greens, another is ready to go.
Fuel up on healthy fats
Healthy fats are an essential part of an athlete’s diet, providing much needed energy and enabling the absorption of fat-soluble vitgamins. Approximately 20 to 35 percent of an athlete’s calories should come from healthy fats such as extra-virgin olive oil, soy, seeds, nuts, nut oils, avocados, and coldwater fish. Boasting three of these first-class healthy fats (from smoked salmon, edamame, and avocado), plus nutty brown rice, and antioxidant-rich pea shoots, this Japanese-inspired sushi bowl is a nutritional knockout, not to mention incredibly tasty.
Tools of the trade
Seeds
Select high-germination organic seeds that have been produced specifically for sprouting, avoiding any treated with fungicide. Health food stores often carry packages of sprouting seeds. Also, Saskatchewan-based Mumm’s Sprouting Seeds (sprouting.com) is a reliable online source offering a huge variety of sprouting seeds.
All sorts of seeds can be sprouted to produce marvelous micro greens. Excellent options include broccoli, kale, arugula, alfalfa, clover, onion, chia, brown mustard, fenugreek, buckwheat, cress, peas, and wheat grass for juicing. Of course, micro greens need not be green, as fiery red daikon radish, purple basil, or red cabbage sprouts can add a splash of colour to your kitchen.
Container
For good sprouting, you’ll need a container at least 3 in (8 cm) deep—nothing fancy or expensive is required. Excellent results can be had with the plastic ones that strawberries, nuts, or greens such as baby spinach are packaged in. Simply cut off the lid, poke some holes in the bottom for drainage, and fill with soil. If the removed lid has no holes, place it under the container for use as a drainage tray to catch water and soil.
Shallow plastic seed-raising trays from garden stores, margarine tubs, or shorter yogourt containers will work too. Using a soil and tray method virtually eliminates the problem of mold that can plague old-school Mason jar sprouting.
Soil
Organic potting soil from garden centres is an inexpensive and reliable medium to grow your micro greens in. Experiment with different brands to find one that works best. Do not use soil from your vegetable or flower garden.
The case for micro greens
Nutrition dynamos
At this stage of development micro greens are thought to be particularly concentrated in vitamins, minerals, and antioxidants. Case in point: a recent study reported that immature spinach leaves have a higher nutrient density than mature leaves. Ounce for ounce, radish sprouts contain twice as much vitamin C as full grown radishes. What’s more, the ability to harvest micro greens immediately before serving eliminates the loss of nutrients that may occur when mature vegetables are transported great distances from farm to store.
Ideal for cramped places
Micro greens can burgeon in the smallest of apartments, allowing year-round urban access to fresh greens, even in the dead of winter. They also enhance your environment aesthetically.
No green thumb required
If past experiences with vegetable gardening resulted in rotten tomatoes, don’t fret. Growing micro greens is a cakewalk and requires a lot less commitment than an outside garden.
Quick payoff
Many micro greens are ready for harvesting after about a week, providing much quicker satisfaction than rearing grown-up vegetables. This makes micro green growing a fun and enriching project for children. Remember, micro greens will sprout up faster in the warmer summer months and take longer during the dreary days of February.
Price is right
A five-dollar bag of sprouting seeds can deliver several large yields of greens, giving you a big bang for your buck.